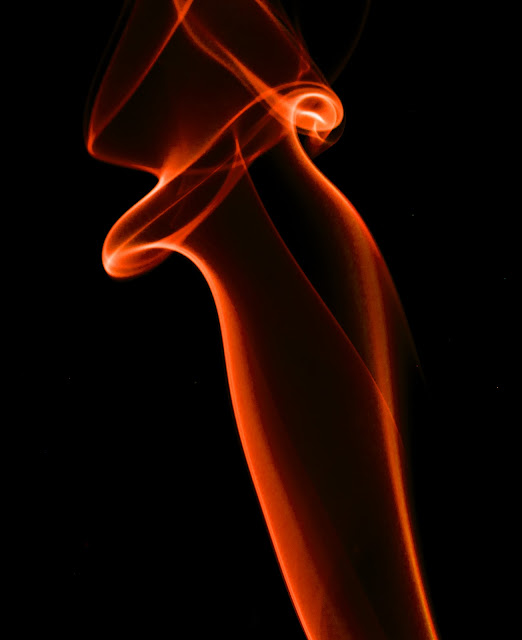
(Click on the photo to view it full-screen)
Interesting? Want to do something similar? Here's they way it goes:
Start with some incense sticks. You do want the long sticks, not the cones. Get a bottle or can to hold the stick(s) upright once lit. Use a black background. A proper muslin or paper photographic background is to be preferred, but a length of black cloth works equally well. Try to set the incense holder several feet in front of the background. You'll want a stool, a tabletop, or some other flat surface on which to mount a flash. Use a short telephoto...a macro lens is great, but any moderate telephoto is good.
Let's shoot. With the smoking incense a close in front of you, shoot directly toward the black background with the flash coming in from the side. Trigger the flash remotely or by a synch cable, if necessary. Be careful not to allow the flash to hit the background or the lens, as that will result in flare. You may want to use the flash's manual zoom or employ a snoot to narrow the angle of the flash. Turn off the lights and cover up any open windows. Turn off autofocus -- it's too dark for it to function. You'll also want manual exposure mode, and you'll have to set the exposure by a procedure that I'll refer to as...er, successive approximation. This needs to be a pure flash exposure -- no ambient light registering -- so be sure you use an ISO, shutter speed, and aperture at least three stops less than would be required to properly expose the ambient light. Start out at f/8 at 1/125, for instance, and use ISO 400. Take a shot and evaluate the exposure. Vary the shutter speed as necessary to eliminate motion blur, the aperture to gain more depth-of-field in focus, and the ISO as necessary to accommodate the desired shutter speed and aperture. Aim for a tightly-cropped patch of the wisps of smoke as they rise from the incense stick.
Here's an example of what you may get:
(Click on the image for a full-screen view.)
Now the game is afoot. You MAY stop right here, but there are options:
open up the image in Photoshop or whatever program you use to edit your images,
and begin to play. Either:
Desaturate the image,
Adjust the Hue/Saturation/Lightness, or
Invert the image, then adjust Hue/Saturation to taste. Example:
(Click on the image to enlarge it.)
Play around. You may want to rotate the image a little or a lot. And having shifted the colors, you might want to take a look at re-inverting the image and shifting the Hue/Saturation again. Play with Levels and/or Curves, too. Here's another example:
(Click on the image to enlarge it.)
We're in the home stretch. You might want to experiment with Posterizing, with Ink Outlines, or Poster edges. And after any of these operations, go back and revisit Levels and/or Curves, or at least Brightness and Contrast. Such as:
(Click on the image to enlarge it.)
(Click on the image to enlarge it.)
This is a shoot that you MUST do. It's a great drill to learn to use your flash, and it's an opportunity to hone your Photoshop skills.


No comments:
Post a Comment